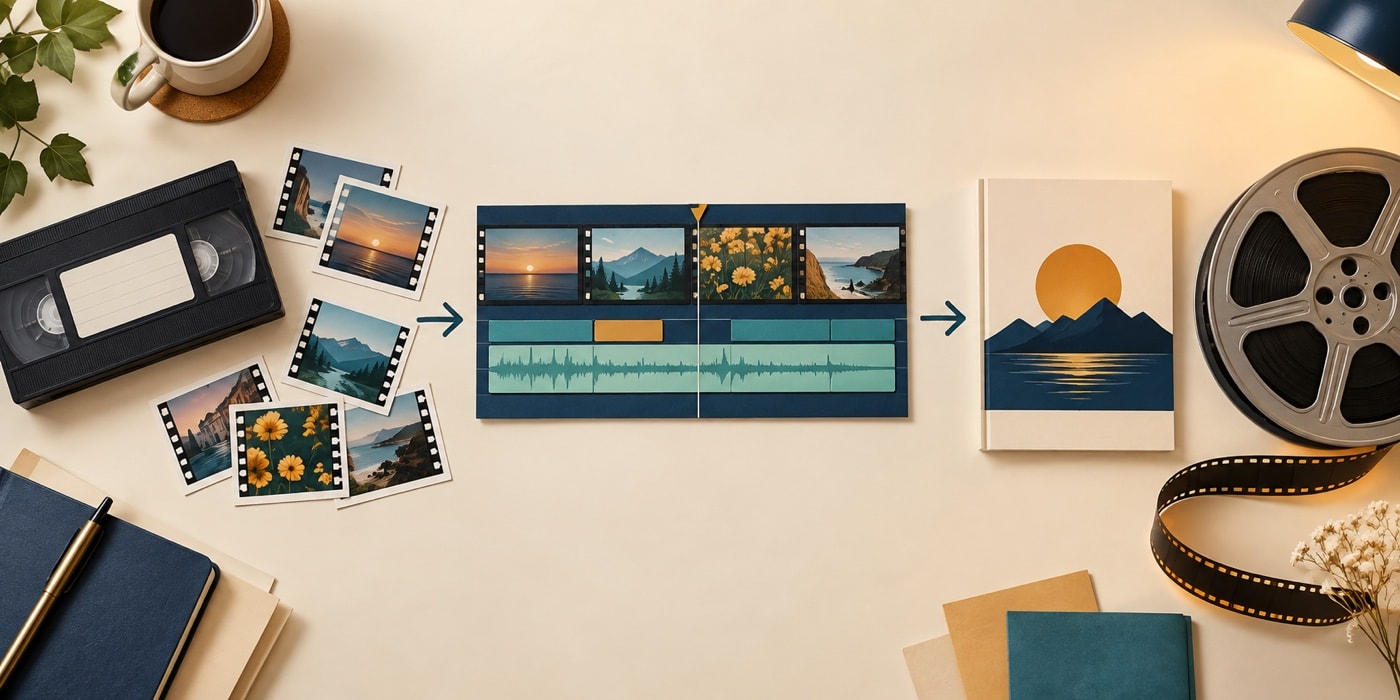
Start with sound project habits
Begin with the Movie Maker workspace, then learn how to bring in camera video and protect input quality. The project-saving guide explains the relationship between an editable project and its source media. That relationship should be understood before detailed work begins.
Build and refine the picture
The editing guide covers selection, order and pacing. Continue with precise trimming, transitions and video effects. Use each tool to solve a visible storytelling problem; a clean cut is often stronger than a decorative change.
Shape music, narration and levels
Sound guides explain how to place music, record narration, plan multiple audio roles and balance volume. Work in passes: first clarity, then timing, then smooth level changes.
Use still images and titles
Create a frame with the still-picture guide, assemble photographs through the slideshow workflow, and finish with opening, overlay and closing titles. Give every still enough screen time to be understood.
Finish and preserve the result
The finished-movie guide helps choose settings by destination. Separate pages explain CD-era storage and the DVD-era handoff. Keep the project, its source set and the finished movie as distinct parts of a careful preservation plan.
Keep the source media unchanged while you work, use short tests before a long process, and save named versions at real milestones. Those three habits make individual techniques easier to explore and make an older project more understandable when it is opened again. A clear folder structure also lets you move between picture, sound and finishing tasks without losing track of the material that supports the edit.