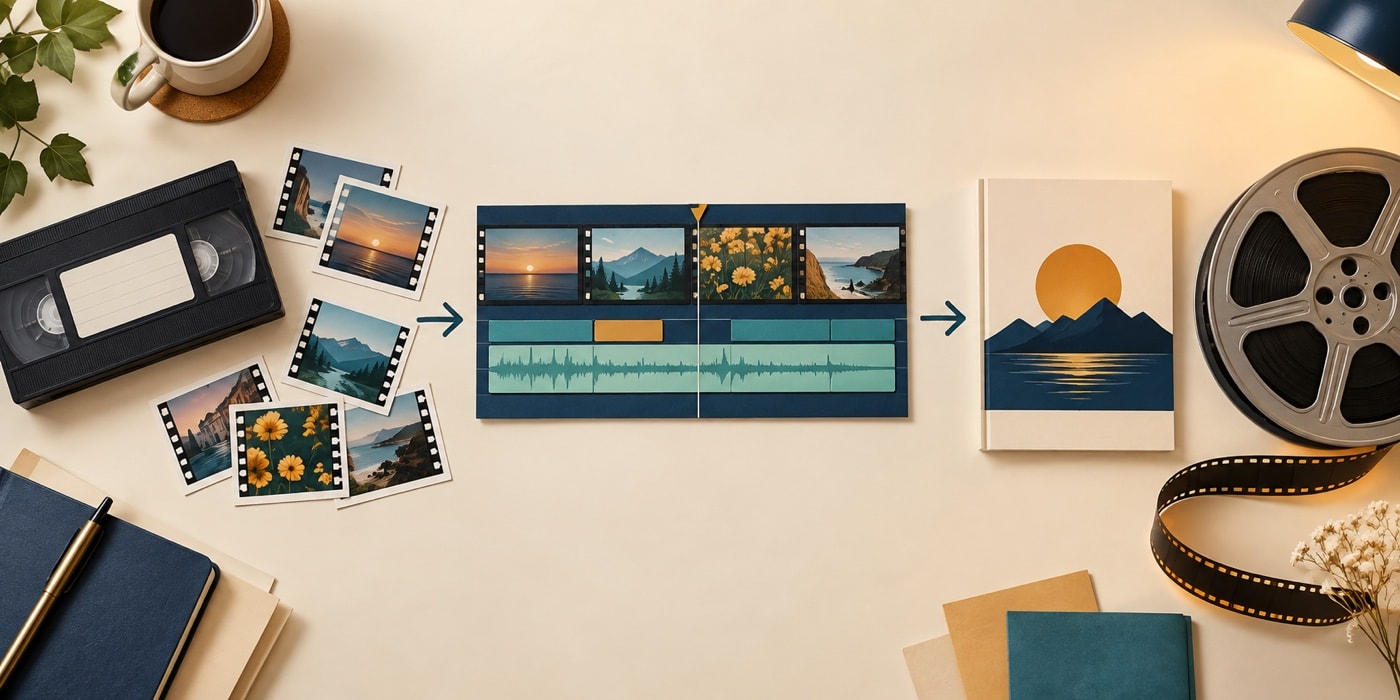
Prepare the source and the computer
Protect the original recording and identify the section you intend to use. Connect the camera through the interface appropriate to the recording format; IEEE 1394, also called FireWire, was common for digital video tape. Put the camera in playback mode rather than recording mode. Close unrelated tasks, connect power where practical and confirm that the destination drive has generous free space.
Create a project folder before starting. Use names that join date, event and sequence, such as a family-event identifier followed by a reel number. Consistent names make later relinking and review much easier than generic clip numbers.
Choose a manageable input method
An automatic pass can divide a long recording into separate clips based on detected scene changes. A manual pass gives closer control over start and stop points. Neither choice alters the recording on the tape. For a first test, bring in a short section with movement and sound, then inspect it before continuing.
Watch for dropped frames, broken audio, unexpected aspect ratio or a picture that looks combed during motion. Some of those symptoms belong to playback or display rather than the transfer itself, so preserve the test and compare it methodically. The input-quality checklist explains how to isolate the cause.
Keep input separate from editing
Finish and verify the source transfer before building a complicated timeline. Open a few clips from the project folder, listen for continuous sound and scrub through motion. Back up irreplaceable recordings independently of the editing project. The project contains decisions, not the camera original.
A practical sequence
- Label the recording and note the needed section.
- Prepare one stable destination folder.
- Connect power and the camera interface.
- Run a short picture-and-sound test.
- Review the test at normal speed and during motion.
- Proceed in clear, named sections.
- Make a second copy before detailed editing.
With verified source clips in place, move to assembling the edit. Good input practice makes every later step more predictable.