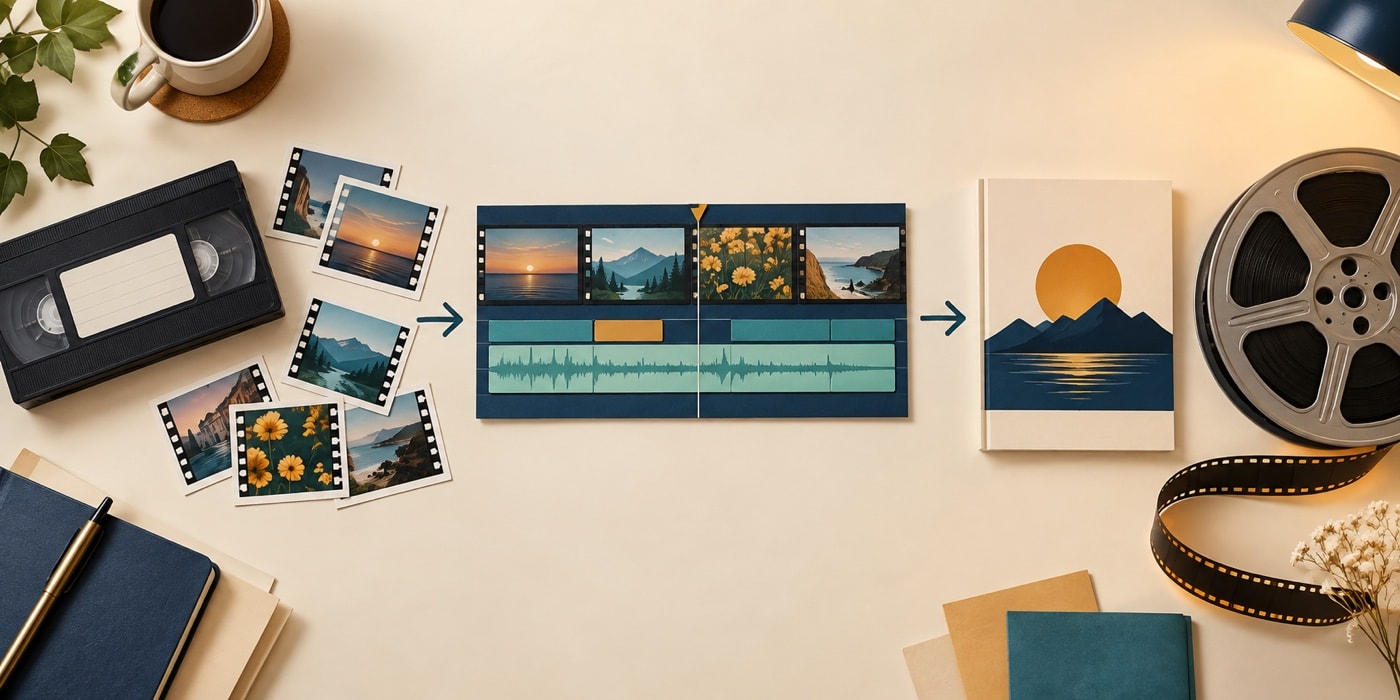
Define the story before polishing it
Write the project in one sentence: a birthday afternoon, a school performance, a travel day or a short demonstration. Choose clips that serve that sentence. Attractive footage that interrupts the sequence can be left out without being erased from the source folder.
Arrange the chosen clips on the storyboard in broad order. Begin where the action becomes understandable and end soon after the main idea resolves. Preview the rough sequence without music or elaborate titles. If the order is unclear at this stage, decorative work will not repair it.
Make a picture pass
Switch to the timeline and trim hesitant starts, camera bumps and long empty endings. Preserve a little movement before and after important actions so cuts do not feel abrupt. When two shots repeat the same information, keep the clearer or more expressive one. Use the trimming guide for precise boundaries.
Watch the cut from several seconds before the edit point. A frame that looks right when paused may feel late or early in motion. Make one adjustment, replay the area, and then watch the full scene at normal speed.
Make separate sound and finish passes
After the picture order is stable, listen without changing the clips. Mark speech that must remain clear, sudden level jumps and gaps that need attention. Add narration or music only after deciding its role. The audio-track guide provides a useful plan.
Titles, effects and transitions come last. Use a title to supply context the pictures cannot, an effect to create a deliberate visual treatment, and a transition to express a real change in time or place. Otherwise, keep the cut simple.
Review as a viewer
- Watch once for story and order.
- Watch again for awkward cuts and repeated shots.
- Listen for speech clarity and level changes.
- Check every title for reading time.
- Create a short test movie and inspect it outside the project view.
Save a new project version before final changes, then continue to the finished-movie workflow.