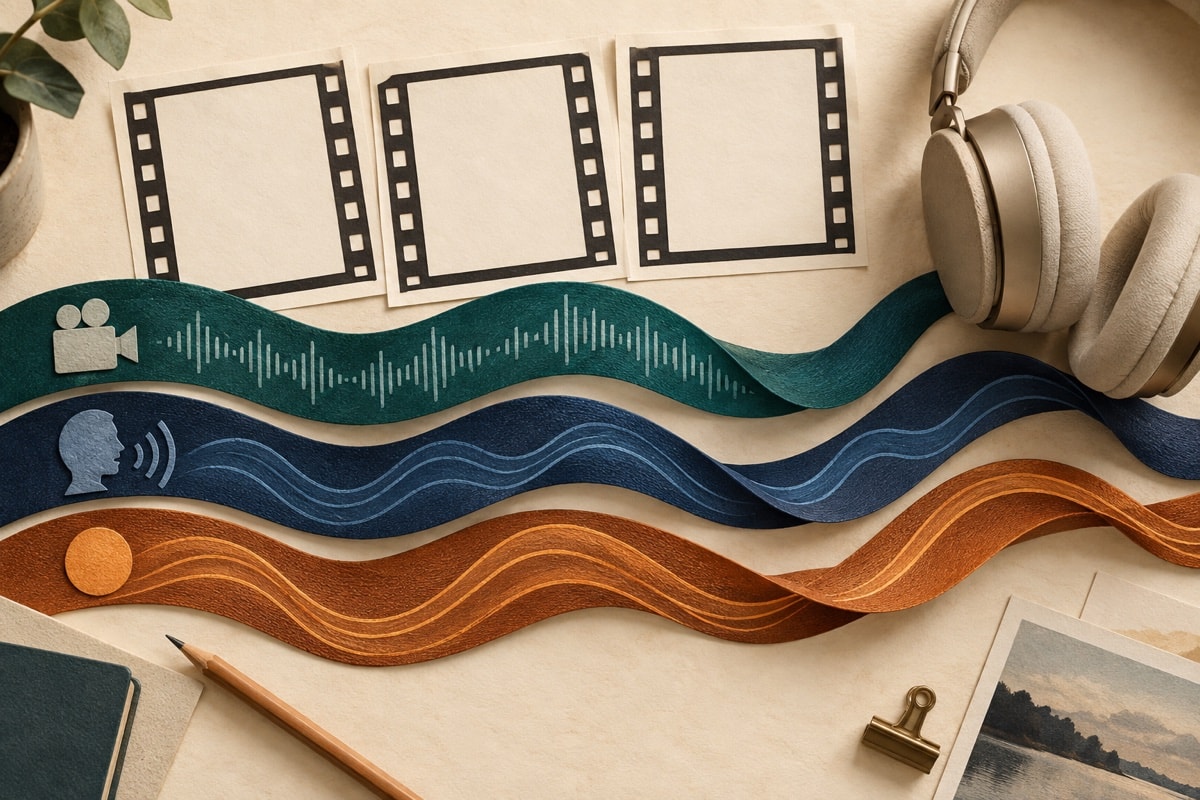
Identify what each layer contributes
Camera sound preserves speech and the feeling of the place. Narration supplies context beyond the picture. Music shapes pace and continuity. Sound effects can clarify a visual event, though they should not replace meaningful original audio without a reason. Write a simple scene-by-scene plan before changing levels.
Choose the foreground
Only one element usually needs to lead. When someone speaks on camera, protect that voice. When narration explains a photograph, let narration lead and hold music beneath it. During a visual montage with no important location sound, music may move forward. The decision can change from scene to scene.
Use the timeline as a map
Place picture first, then align narration and music to stable scene boundaries. Split long audio items where their role changes, but keep the source file protected. Give each segment enough overlap to make gradual changes possible. Sudden level jumps often draw more attention than the picture edit.
Movie Maker's track layout was simpler than a large editing system, so planning mattered. If two desired elements compete, shorten one, create a quiet gap or revise the narration. More layers do not automatically create a richer result.
Listen in focused passes
- Listen only for speech clarity.
- Listen for music entrances and endings.
- Check transitions between camera sound and narration.
- Watch the whole movie without touching the controls.
- Make a short finished test and compare it with the project preview.
Preserve useful silence
Silence gives emphasis and prevents listening fatigue. A brief quiet space before a title, important line or closing image can be more effective than continuous sound. Keep ambient room tone when absolute silence would feel unnatural, but do not fill every gap by habit.
Continue with the independent volume guide for fades and level decisions, or revisit narration planning if the spoken material is too dense.