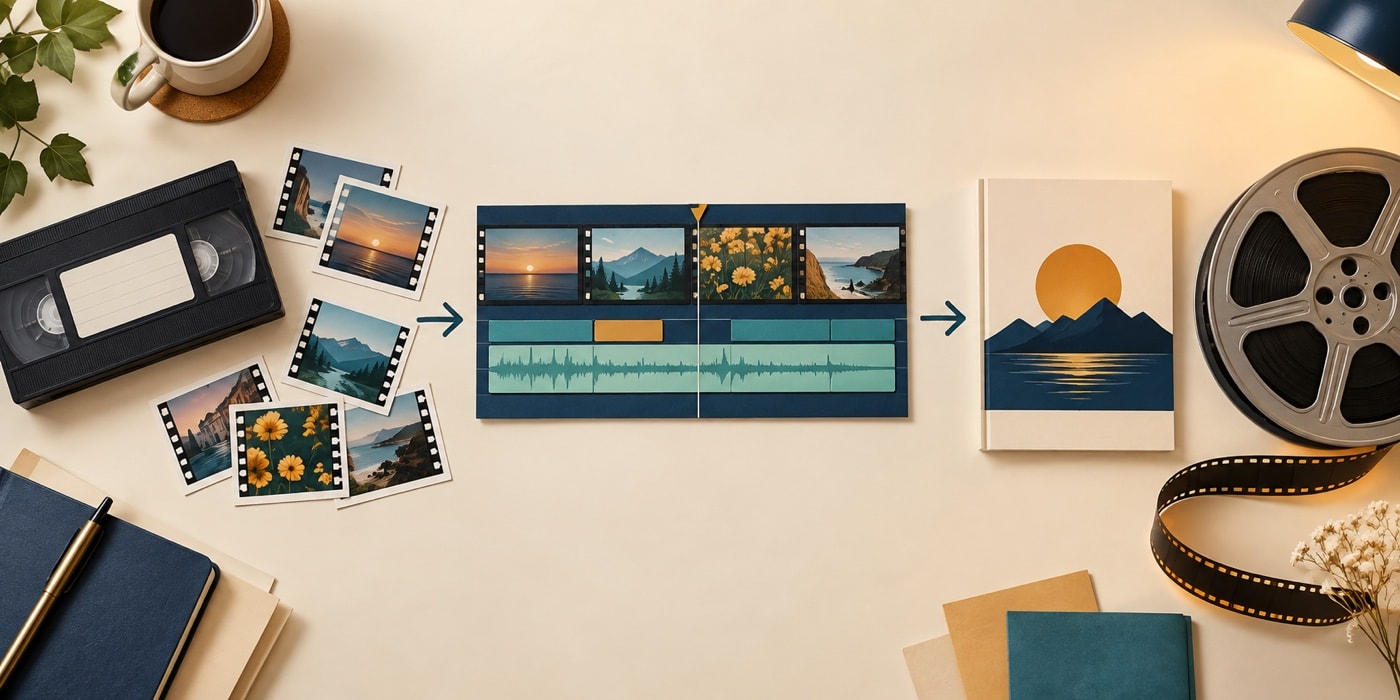
Know the three layers of a project
The first layer is source media: the video, sound and pictures stored on the computer. The second is the project, which records where clips begin and end, their order, effects, titles and audio decisions. The third is the finished movie, a new file made from those instructions. Deleting or moving a source item can therefore break a project even when its thumbnail still appears familiar.
Create one project folder with clearly named subfolders for video, pictures, narration and music. Place the source set there before editing and leave it in place. Then save the project with a descriptive name and make numbered versions after major changes. The project-saving tutorial develops this habit in detail.
Move from collection to rough sequence
Review source clips before adding everything to the project. Use a short name that identifies scene and order, not a vague sequence of camera numbers. On the storyboard, place only the moments needed to tell the basic story. Do not worry yet about perfect trimming, transitions or music. A rough sequence should answer a simpler question: does the story make sense from beginning to end?
Switch to the timeline when timing matters. The timeline reveals clip length, audio placement, titles and overlaps. Zoom in for a precise boundary and zoom out to judge the shape of a longer section. Preview after each meaningful adjustment rather than stacking many changes and then trying to identify which one caused a problem.
Use a first-project checklist
- Protect and organize the source files.
- Save a named project before detailed editing.
- Build a short rough sequence on the storyboard.
- Use the timeline for trims and sound timing.
- Preview the whole edit from a few seconds before each change.
- Create a short test movie before processing the full project.
Once the workspace feels familiar, continue to the independent editing guide. The goal is not to use every tool; it is to make confident choices while keeping the project reversible.