Begin with the chair and desk relationship
Sit close enough that the keyboard and pointer do not require a forward reach. Set the chair so the feet have steady contact with the floor or a stable support, and let the backrest carry the seated posture you actually use. The work surface should allow the shoulders to remain relaxed while the hands meet the input devices.
Do not chase a single perfect pose. Arrange the space so you can shift position without losing access to the controls. The computer workstation overview from OSHA presents the workstation as a set of adjustable parts rather than one universal measurement.
Place the monitor for the timeline task
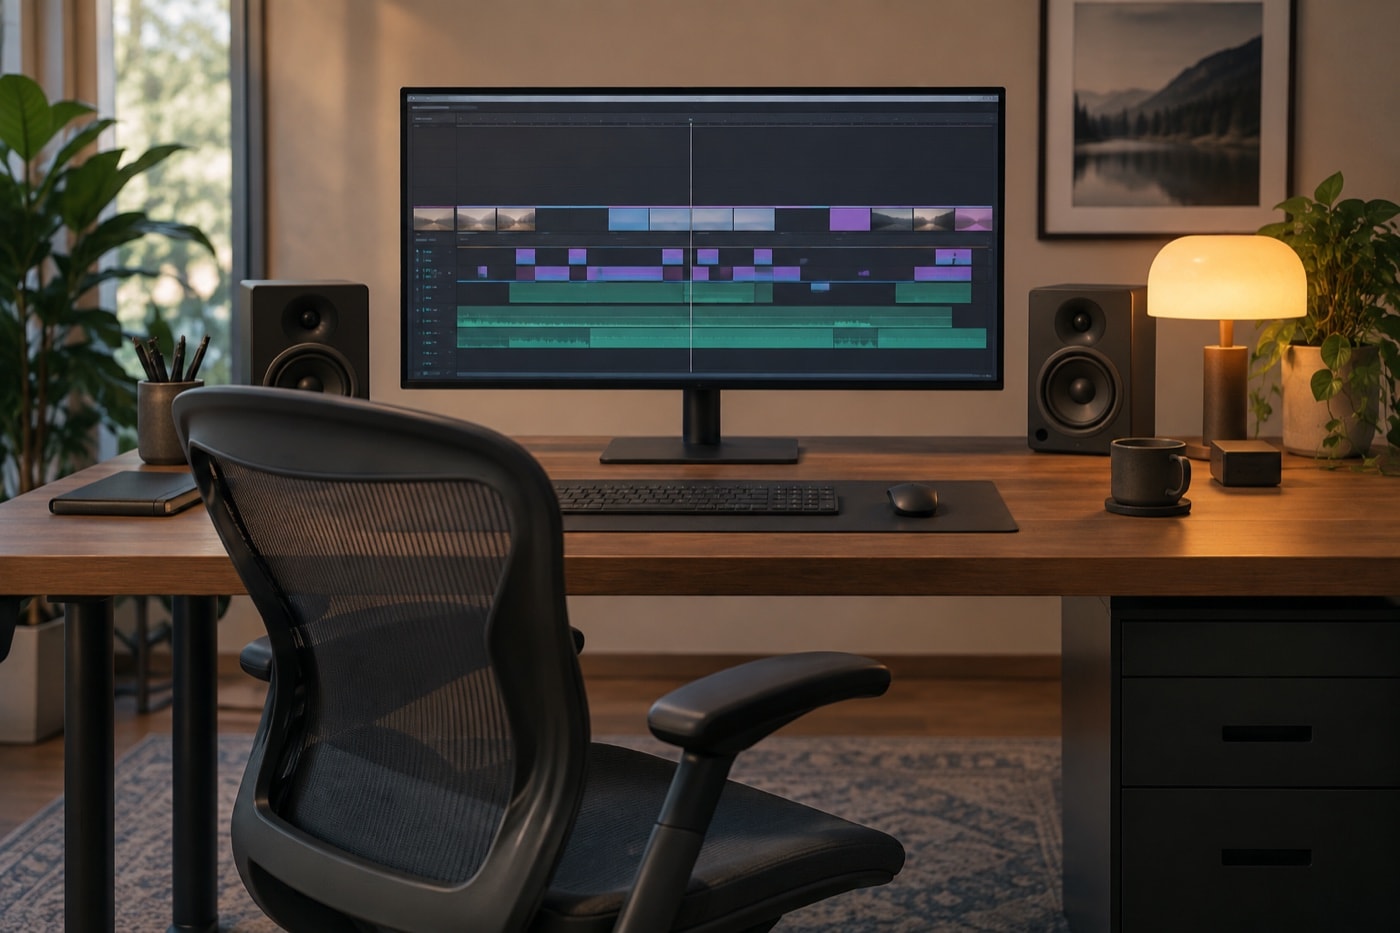
Center the main editing area in front of the chair. Keep the monitor at a viewing distance that makes timeline labels and clip boundaries readable without leaning forward. Adjust height so the screen can be viewed with a comfortable, mostly level head position. If a second display is used only occasionally, angle it inward rather than turning the whole workspace away from the primary screen.
Glare can make a dark editing interface tiring to inspect. Place the screen at an angle to windows where possible, control bright reflections and use moderate room light rather than working with a brilliant display in an otherwise black room. OSHA's monitor-position guidance covers placement, viewing distance and glare as parts of the same setup.
Keep the pointer close
Timeline editing can become pointer-heavy. Put the device beside the keyboard at the same general height, with enough clear space to move from the arm rather than pinning the hand into one small corner. Keep frequently used controls within easy reach. If the pointer drifts farther away as papers and drives collect on the desk, reset the surface before the next long pass.
Learn a small set of keyboard shortcuts for actions repeated constantly, such as playback, pausing and moving around the timeline. The goal is variety, not speed for its own sake. OSHA's pointer and mouse guidance discusses placement and using keyboard functions as an alternative for some repeated pointer actions.
Turn one marathon into different kinds of work
Break the edit into passes with different demands. A story pass can involve watching from farther back. A trim pass needs close timeline attention. A sound pass can use listening with the picture left alone. Titles can be checked on paper before they are typed. File organization and written notes can happen away from the playback loop.
Use natural boundaries as cues to change task: the end of a scene, the completion of a sound pass, or the start of a long process. Stand, move, look away from the screen, refill water or review paper notes before beginning the next segment. OSHA's work-process guidance recommends task variation and brief pauses as part of computer work organization.
Set up the session before pressing play
- Clear enough desk space for close keyboard and pointer placement.
- Center the primary monitor and check for reflections.
- Place headphones where their cable does not pull across the controls.
- Write the goal of the pass: story, trims, sound, titles or review.
- Choose scene boundaries where the task will change.
- Keep source media and project notes organized so searching does not interrupt the edit.
Finish with a reset
At the end of a session, save a clearly named project version, write the next action in one sentence and return the desk to a workable layout. The next session should begin with a known task rather than an hour of rediscovery. For the editing sequence itself, use the independent picture-editing guide; for protecting progress, follow the project-saving guide.